
How to Install a Photovoltaic System
Photovoltaic systems, also known as solar power systems, are a great investment for your home or business. Installing a photovoltaic system may seem like a daunting task, but with the right guidance, it can be a straightforward process. Here are the key steps to install a photovoltaic system.
Step 1: Evaluate Your Energy Needs
Before installing a photovoltaic system, it’s essential to evaluate your energy needs. You should consider the amount of electricity you use on a daily basis and the area available for solar panels. This will give you an idea of the size and capacity of the photovoltaic system you’ll need.Calculate your energy usage
Start by examining your utility bills from the past year to understand your energy consumption patterns.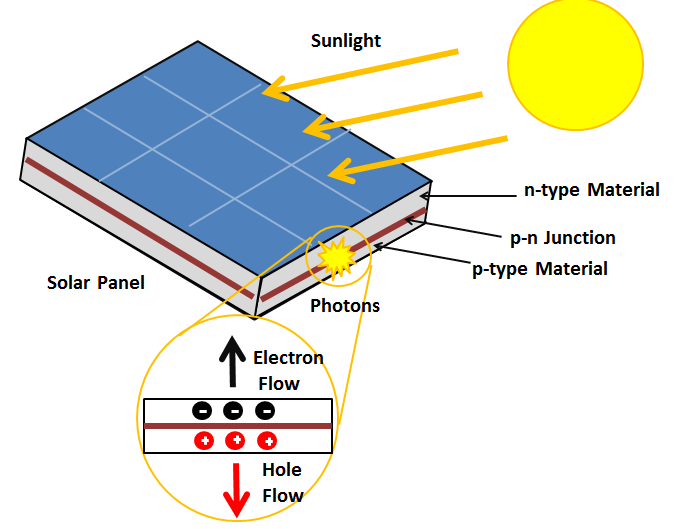
Assess your roof space
Take into account the size and orientation of your roof to determine the solar panel placement.Step 2: Choose the Right Equipment
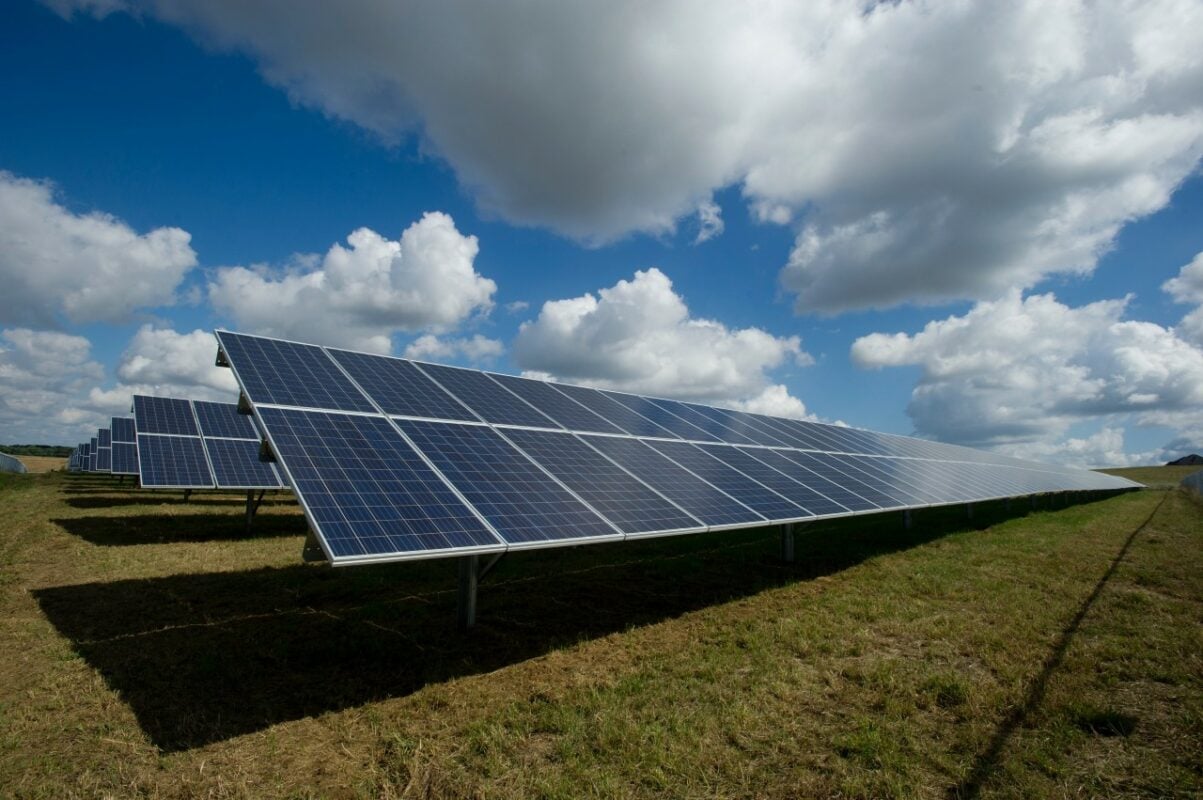
Selecting the right equipment is crucial to the success of your photovoltaic system. This includes solar panels, inverters, mounting system, and wiring. It’s essential to choose high-quality, durable equipment to ensure your system’s longevity and efficiency.Solar panels
Choose solar panels that are efficient and durable. Monocrystalline and polycrystalline panels are popular options, with monocrystalline panels being more efficient.Inverters
There are three main types of inverters: string inverters, microinverters, and power optimizers. Each has its advantages and disadvantages, so choose based on your specific needs.Step 3: Install the System
Once you have all the necessary equipment, it’s time to install the photovoltaic system. This is a critical step that requires precision and attention to detail.Mount the solar panels
Place the solar panels on the roof or ground in a way that maximizes sun exposure and minimizes shading.Connect the wiring
Connect the solar panels to the inverters and the rest of the electrical system. This step requires careful attention to safety and electrical codes.Step 4: Connect to the Grid
After the photovoltaic system is installed, it needs to be connected to the electrical grid. This involves obtaining permits and working with your utility company to ensure a smooth connection.Obtain permits
Check with your local authorities to obtain the necessary permits for connecting your photovoltaic system to the grid.Work with your utility company
Coordinate with your utility company to have the system connected to the grid. This may involve inspections and paperwork.By following these steps and working with professional installers, you can have a photovoltaic system up and running in no time. Enjoy the benefits of renewable energy and lower electricity bills with your new photovoltaic system.
Remember to consult with a professional installer to ensure that your system meets all safety and regulatory requirements.
Investing in a photovoltaic system is a great step toward a more sustainable and energy-efficient future for your home or business. With the right equipment and installation, you can enjoy the benefits of solar power for years to come.
By following these steps and seeking assistance from professionals, you can successfully install a photovoltaic system that will meet your energy needs and contribute to a greener planet.
