How to Install Photovoltaic Systems: A Comprehensive Guide
Introduction
Photovoltaic (PV) systems, also known as solar panel systems, are a popular and environmentally friendly way to generate electricity for residential and commercial properties. Installing a PV system can be a complex process, but with the right guidance, it is entirely achievable for DIY enthusiasts. In this article, we will provide a step-by-step guide on how to install photovoltaic systems.
Step 1: Planning and Permitting
1.1 Determine Your Energy Needs
Before you can start installing a PV system, you need to assess your energy needs. This involves looking at your current energy usage and determining how much electricity you want the PV system to generate.
1.2 Site Assessment
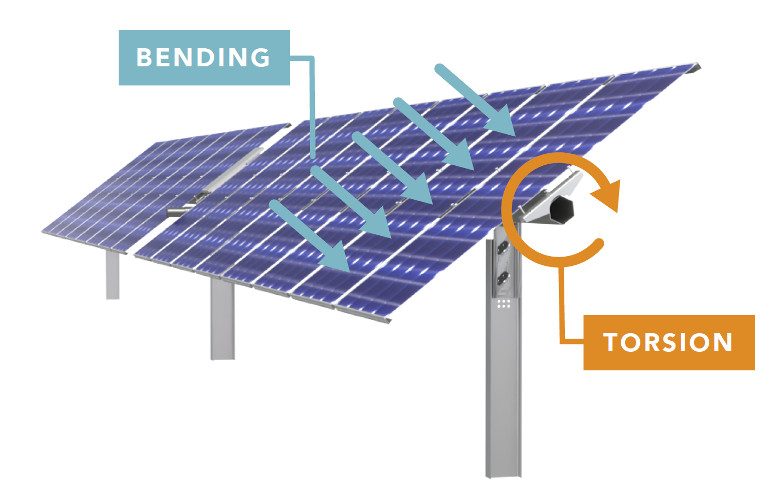
Next, you need to assess your property to determine the best location for the solar panels. Factors to consider include the angle of the roof, any potential shading from nearby buildings or trees, and the structural integrity of the roof.
1.3 Obtain Permits
Installing a PV system typically requires obtaining permits from your local government or utility company. Be sure to check the specific regulations and requirements in your area before starting the installation process.
Step 2: Choosing and Purchasing Equipment
2.1 Select Solar Panels and Components
When choosing solar panels and components for your PV system, consider factors such as efficiency, durability, and warranty. It’s also essential to select an inverter that can convert the DC energy produced by the panels into AC power for use in your home.
2.2 Purchase Equipment
Once you have chosen the solar panels and components, it’s time to purchase the equipment. You can buy everything you need from a reputable solar energy supplier or work with a professional installer who can provide the necessary materials.
Step 3: Installation
3.1 Mounting Solar Panels
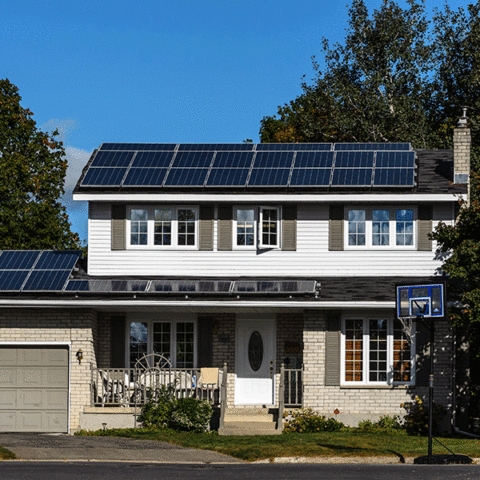
The first step in the installation process is to mount the solar panels on the roof. This involves securing mounting brackets to the roof and then attaching the panels to the brackets.
3.2 Electrical Wiring
After the panels are in place, you need to connect them to the inverter using electrical wiring. This step requires careful attention to detail to ensure the system is safely and effectively connected.
3.3 Connecting to the Electrical Grid
Finally, you will need to connect the inverter to your home’s electrical system and, if applicable, to the electrical grid. This step may require the assistance of a professional electrician to ensure everything is connected correctly.
3.4 Testing and Inspection
Once the installation is complete, it’s essential to test the system thoroughly and have it inspected by a qualified professional to ensure it meets all safety and performance standards.
3.5 Maintenance and Monitoring
After installation, it’s crucial to regularly monitor and maintain your PV system to ensure it continues to operate efficiently. This includes cleaning the panels, checking for any potential issues, and monitoring energy production.
Conclusion
Installing a photovoltaic system is a significant investment that can provide long-term benefits for your property and the environment. By following the steps outlined in this guide and enlisting the help of professionals when needed, you can successfully install a PV system and reap the rewards of clean, renewable energy.

