
How to Install Photovoltaic Solar Panels: A Step-Step Guide
If you are considering installing photovoltaic solar panels on your property, you are taking a significant step towards reducing your carbon footprint and saving money on electricity bills. However, the installation process can be complex and require careful planning. In this guide, we will take you through the steps to installing photovoltaic solar panels on your property.
Planning and Design
Assess Your Energy Needs
Before purchasing and installing solar panels, it is important to assess your energy needs. Consider your current electricity usage and how much of that you want to offset with solar energy.Check for Local Regulations and Permits
Before installation, it is essential to check for local regulations and obtain the necessary permits for installing solar panels. Some areas may have restrictions on where panels can be placed and require approval from local authorities.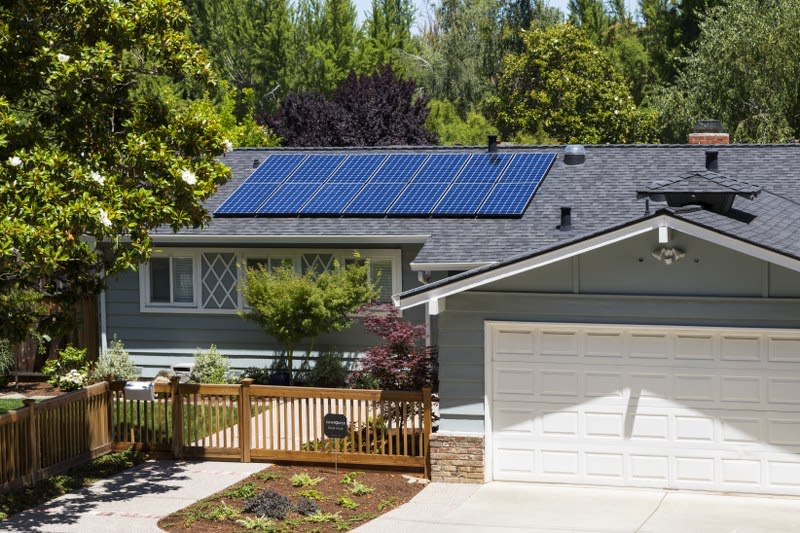
Design Your Solar Panel System
Work with a professional to design a solar panel system that meets your energy needs and fits your property. Consider factors such as the orientation of your roof, shading, and available space for installation.Choosing the Right Equipment
Select Solar Panels and Inverters
Choose high-quality solar panels and inverters that are suitable for your energy needs and the design of your system. Consider factors such as efficiency, warranties, and reliability when making your selection.Consider Battery Storage
If you want to store excess energy for use at night or during power outages, consider adding battery storage to your solar panel system. This will allow you to maximize the self-consumption of your solar energy.Installation Process
Roof Preparation
Before installing solar panels, ensure that your roof is structurally sound and can support the weight of the panels. Consider any necessary repairs or reinforcements to the roof before installation.Mounting the Solar Panels
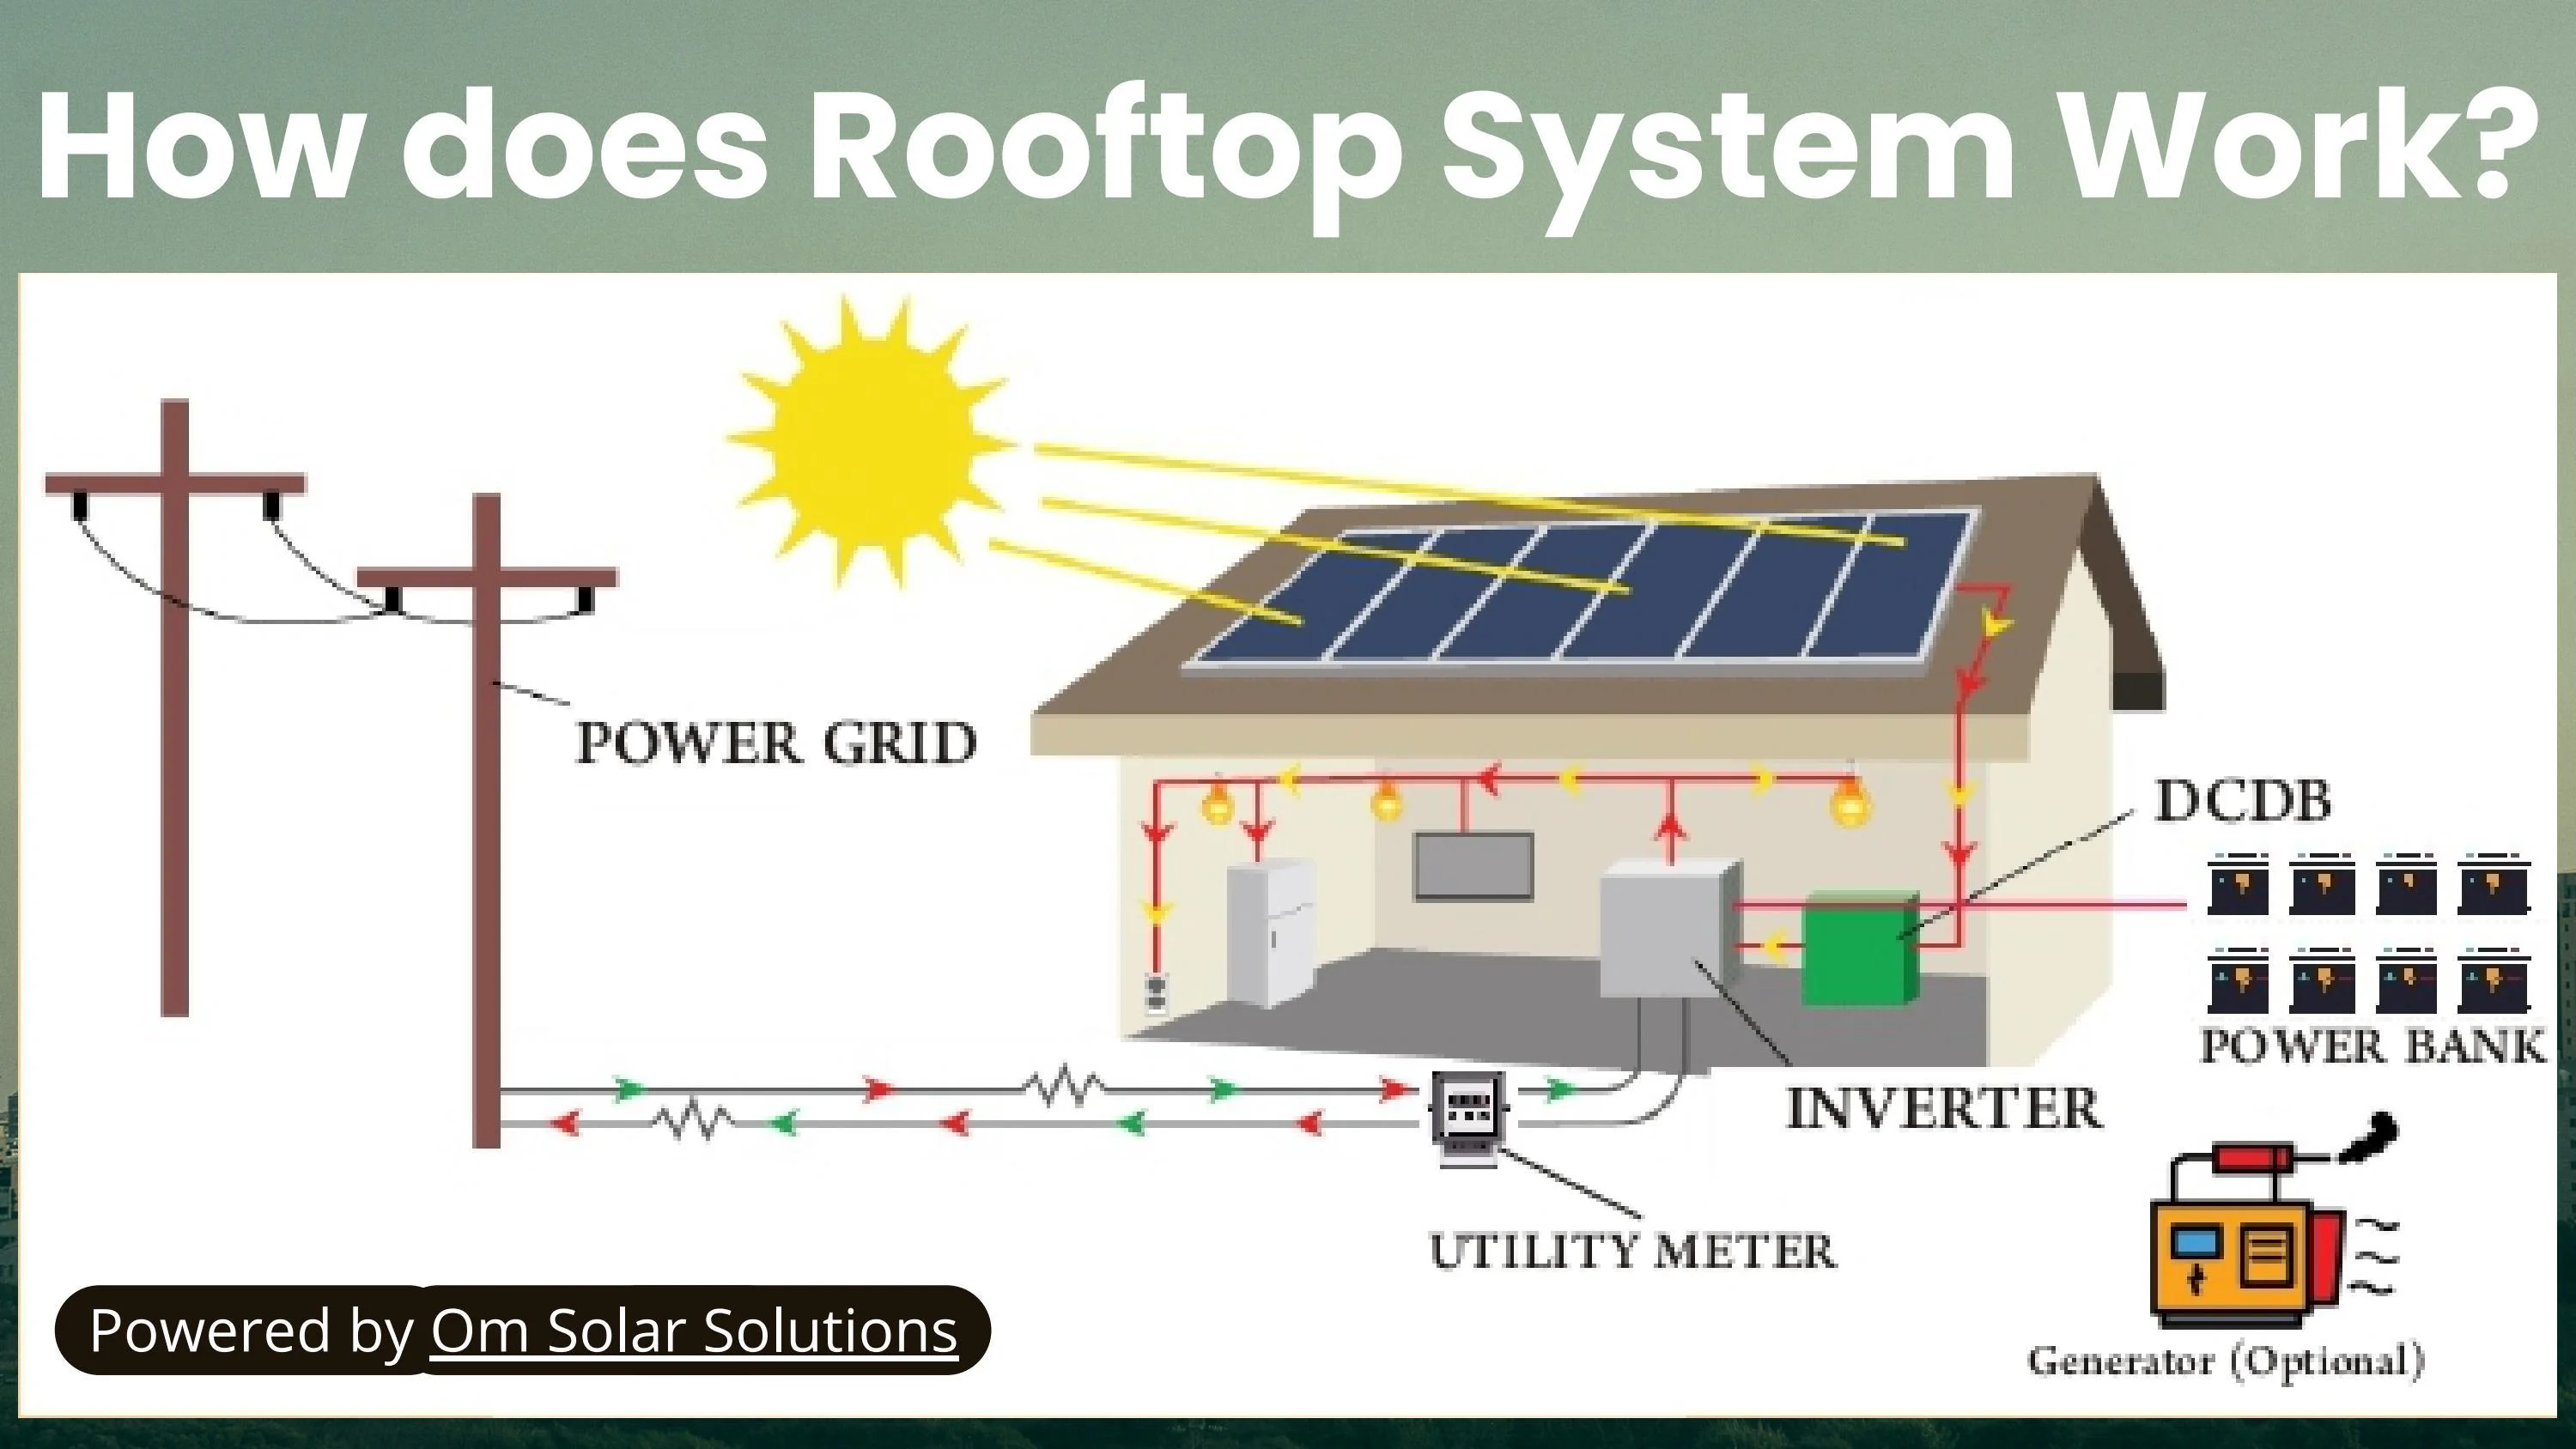
The next step involves mounting the solar panels on your roof or ground-mounted racking system. This process requires precision and attention to detail to ensure the panels are securely installed.Wiring and Connection
After the panels are installed, the wiring and connections to the inverters and electrical systems must be carefully completed. This step is critical to ensure the efficient and safe operation of your solar panel system.Secure Necessary Inspections
Once the installation is complete, you will need to schedule inspections to ensure that the system meets safety and building code requirements. This step is essential for the final approval and connection to the grid.Connect to the Grid
Once the system passes inspections, it can be connected to the grid and begin generating solar energy for your property. This step may involve working with your utility company to complete the connection.Monitoring and Maintenance
Monitor Your Solar Energy Production
After installation, it is essential to monitor your solar energy production to ensure the system is performing as expected. Many solar panel systems come with monitoring tools to help you track your energy generation.Regular Maintenance
Routine maintenance, such as cleaning the panels and checking for any issues, is crucial to ensure the longevity and efficiency of your solar panel system. Consider scheduling regular inspections and maintenance with a professional.In conclusion, installing photovoltaic solar panels is a significant investment that requires careful planning, equipment selection, and a precise installation process. By following the steps outlined in this guide and working with experienced professionals, you can successfully install a solar panel system that will generate clean and efficient energy for your property.
