
How to Install a Photovoltaic System
Photovoltaic systems, also known as solar power systems, are a great way to harness the energy of the sun and convert it into electricity for your home or business. Installing a photovoltaic system may seem like a daunting task, but with the right guidance, it can be a relatively straightforward process. This article will provide a step-by-step guide on how to install a photovoltaic system, from preparing the site to connecting the panels.
Step 1: Evaluate Your Site
Before you begin the installation process, it’s important to evaluate your site to determine if it’s suitable for a photovoltaic system. Consider factors such as the amount of sunlight the site receives, the angle and orientation of the roof, and any potential shading from nearby trees or buildings. If your site is not ideal for a photovoltaic system, you may need to make adjustments or consider alternative locations.Step 2: Obtain Permits and Approvals
Before you can begin installing your photovoltaic system, you will need to obtain the necessary permits and approvals from your local authorities. This may include building permits, electrical permits, and approval from your homeowners’ association. It’s important to ensure that your installation complies with all local regulations and building codes.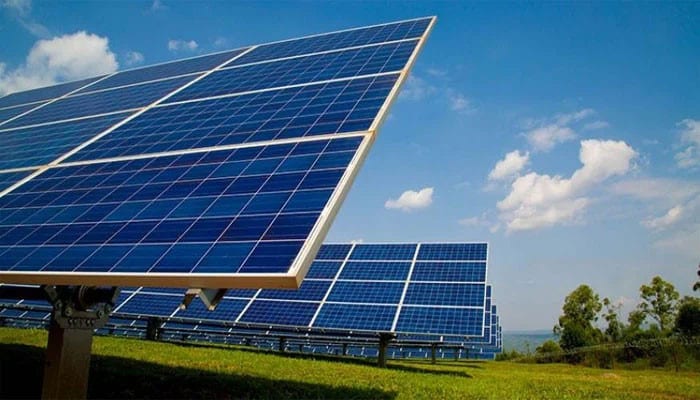
Step 3: Install the Mounting System
Once you have evaluated your site and obtained the necessary permits, it’s time to install the mounting system for your photovoltaic panels. The mounting system is what will secure your panels to the roof or ground, so it’s important to ensure that it is installed correctly. This may involve drilling holes, attaching rails, and securing brackets.Step 3.1: Roof Mount
If you are installing a roof-mounted photovoltaic system, you will need to attach the mounting system to your roof using flashing and waterproof sealant. It’s important to follow the manufacturer’s instructions and ensure that the mounting system is securely fastened to the roof.Step 3.2: Ground Mount
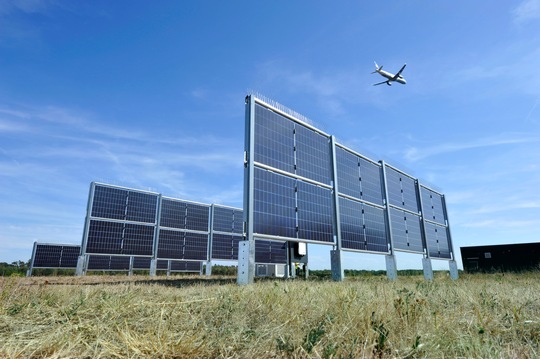
If you are installing a ground-mounted photovoltaic system, you will need to secure the mounting system to the ground using concrete footings or support structures. This may require digging, pouring concrete, and securing the mounting system in place.Step 4: Install the Photovoltaic Panels
Once the mounting system is in place, it’s time to install the photovoltaic panels. Carefully lift the panels onto the mounting system and secure them in place according to the manufacturer’s instructions. This may involve attaching clamps, bolts, or brackets to the panels and ensuring that they are properly aligned and positioned.Step 4.1: Electrical Wiring
Once the panels are installed, you will need to connect the electrical wiring. This may involve running cables from the panels to a junction box or inverter, and then connecting the inverter to your electrical panel. It’s important to follow the manufacturer’s instructions and ensure that all electrical connections are secure and properly insulated.Step 5: Final Inspections and Activation
After the installation is complete, you will need to schedule a final inspection to ensure that your photovoltaic system meets all local regulations and building codes. Once the system has been approved, you can activate it and start generating clean, renewable energy for your home or business.In conclusion, installing a photovoltaic system can be a rewarding and environmentally friendly investment. By following these steps and seeking professional guidance when necessary, you can successfully install a photovoltaic system and start reaping the benefits of solar power. Remember to regularly maintain and monitor your system to ensure optimal performance and longevity. If you have any doubts or concerns, it’s always best to consult with a professional solar installer. With proper installation and maintenance, your photovoltaic system can provide years of clean, renewable energy for you and your community.
