
How to Wire a Photovoltaic System Off Grid
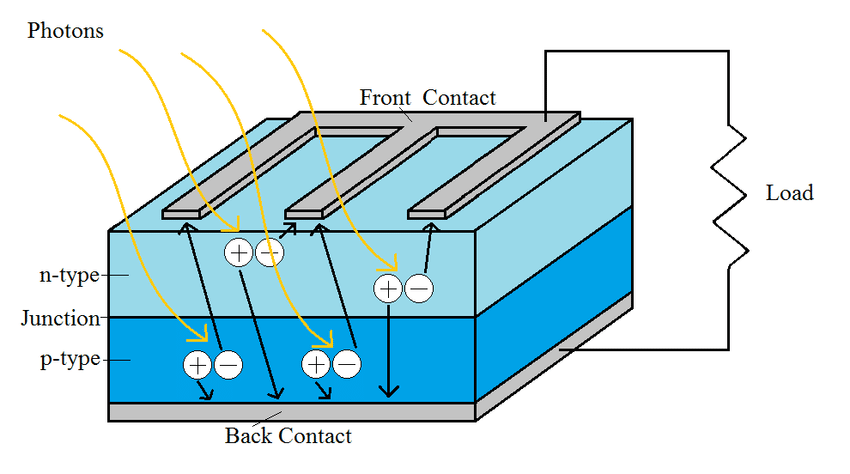
If you are looking to go off the grid and power your home or property with renewable energy, a photovoltaic (PV) system is a great option. This system uses solar panels to capture energy from the sun and convert it into usable electricity. In order to set up a successful off-grid PV system, proper wiring is essential. In this article, we will provide a step-by-step guide on how to wire a photovoltaic system off grid.
Step 1: Plan Your System
Before you start wiring your off-grid PV system, it’s important to have a clear plan in place. Determine the energy needs of your property, the number of solar panels required, and the type and size of batteries needed for energy storage. This planning stage is crucial in ensuring that your system will be able to provide enough power for your needs.Step 2: Choose the Right Wiring
When it comes to wiring an off-grid PV system, it’s crucial to use the right type of wiring and cables. The wiring needs to be able to handle the direct current (DC) electricity produced by the solar panels. It’s important to use high-quality, properly sized cables to minimize power loss and ensure safety.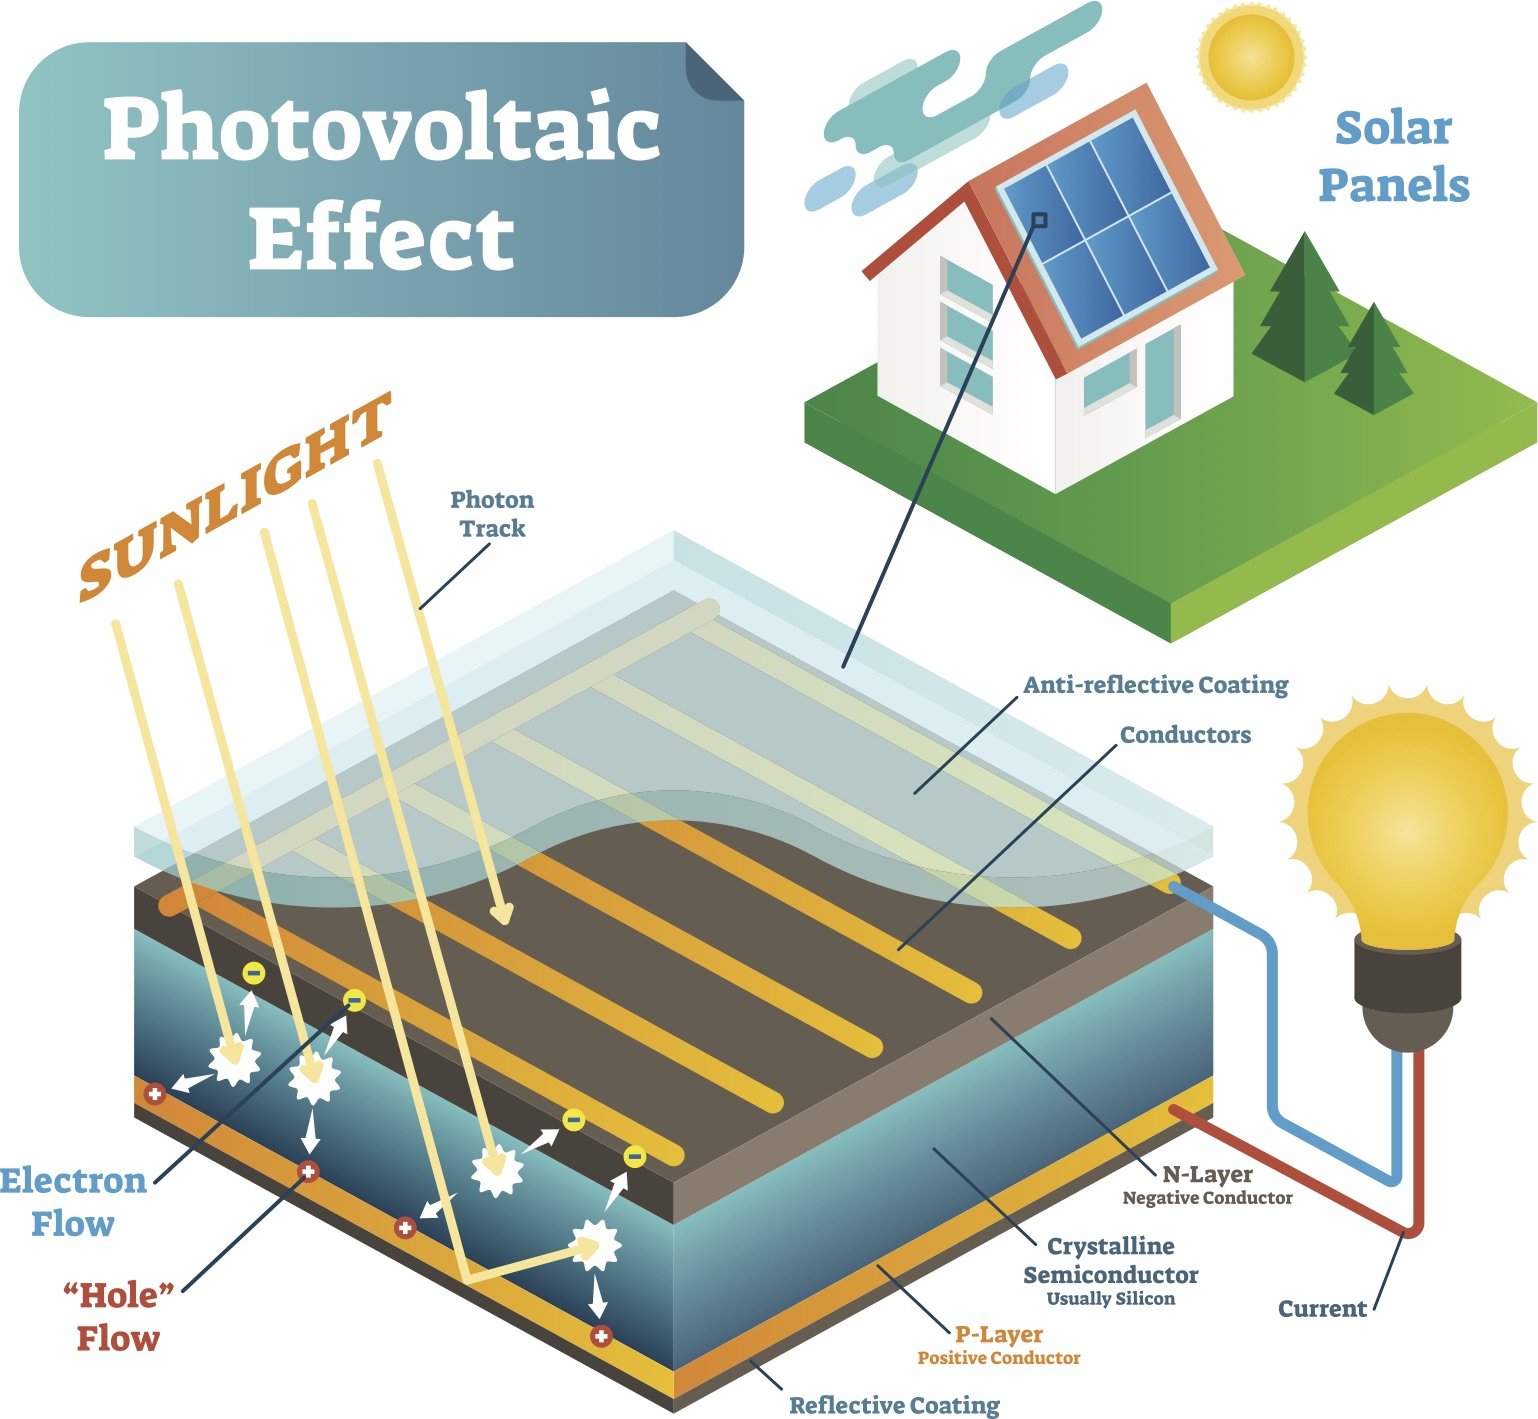
Step 2.1: Use Proper Cable Sizing
Selecting the right cable size is crucial for an off-grid PV system. The cable size will depend on the distance between the solar panels and the charge controller, as well as the charge controller and the battery bank. Using the correct cable size will minimize voltage drop and ensure efficient power transfer.Step 2.2: Use the Right Connectors
Choose the right connectors for your wiring to ensure a secure and reliable connection. Weather-resistant and durable connectors are essential for outdoor PV systems. Using connectors that are specifically designed for solar applications will help prevent corrosion and ensure long-term performance.Step 3: Connect the Solar Panels
Once you have the proper wiring and cables in place, it’s time to connect the solar panels to the rest of the system. Ensure that the panels are properly grounded and securely mounted. Connect the positive and negative leads from the solar panels to the appropriate terminals on the charge controller.Step 3.1: Install Overcurrent Protection
To protect your PV system from overcurrent, install fuses or circuit breakers in line with the wiring between the solar panels and the charge controller. This will help prevent damage to your equipment in the event of a malfunction or electrical overload.Step 4: Connect the Battery Bank
After wiring the solar panels to the charge controller, it’s time to connect the battery bank. Connect the positive and negative terminals of the battery bank to the corresponding terminals on the charge controller. It’s important to ensure that the batteries are properly vented and installed in a well-ventilated area.Step 4.1: Install a Battery Disconnect
Install a battery disconnect switch to safely isolate the battery bank from the rest of the system for maintenance or in the event of an emergency. This switch provides a crucial safety feature for off-grid PV systems.Step 5: Test and Monitor the System
Once the off-grid PV system is fully wired, it’s important to test the system and monitor its performance. Check the voltage and current output of the solar panels, charge controller, and battery bank. Monitor the system for any irregularities and troubleshoot any issues that may arise.By following these steps and ensuring proper wiring and connections, you can successfully wire a photovoltaic system off grid. With the right planning and installation, an off-grid PV system can provide clean, sustainable energy for your home or property.
